



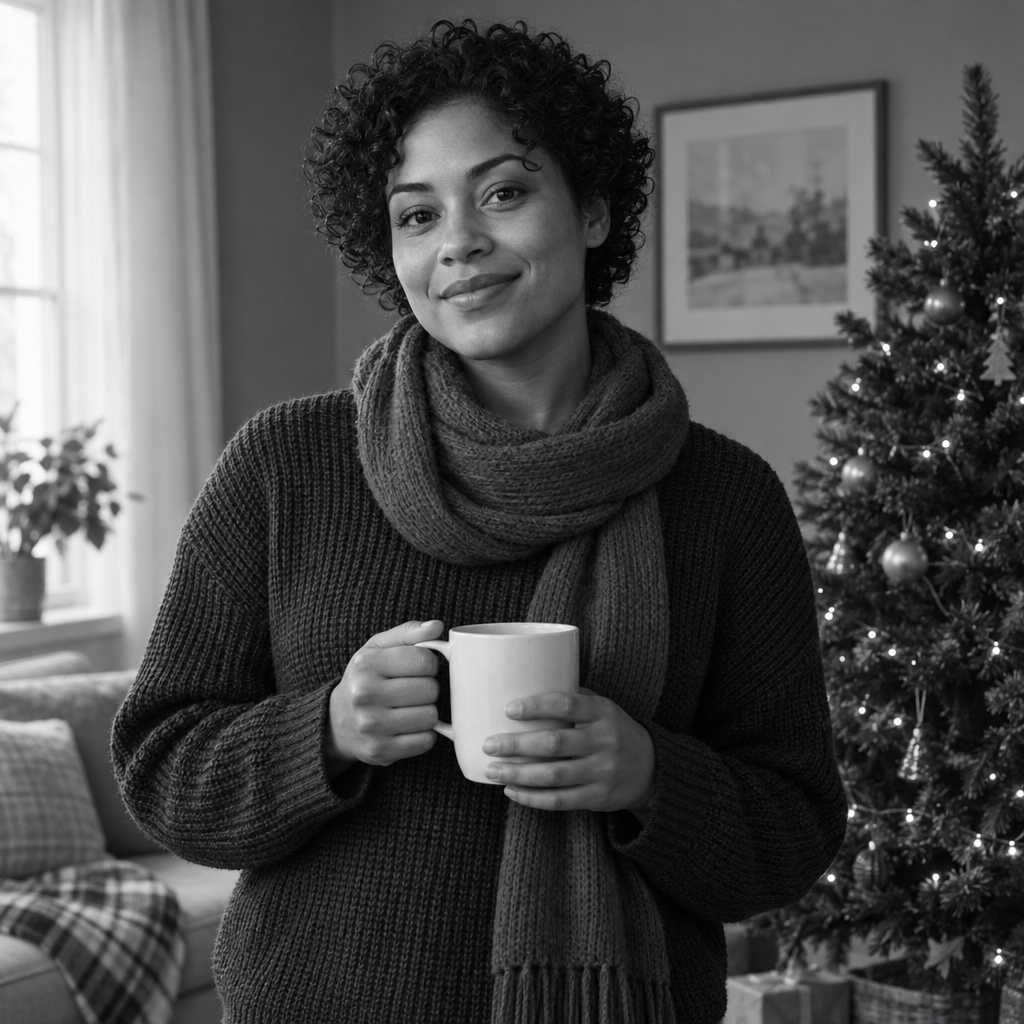
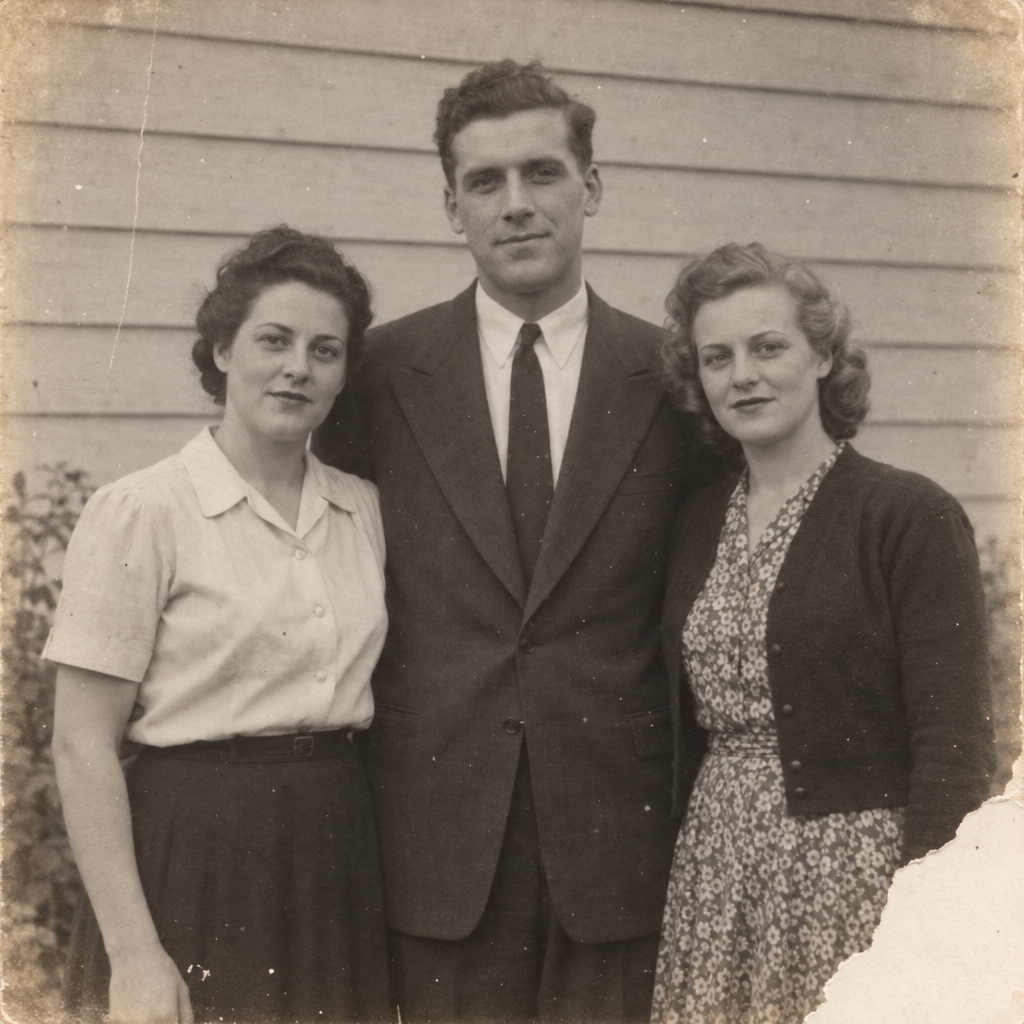
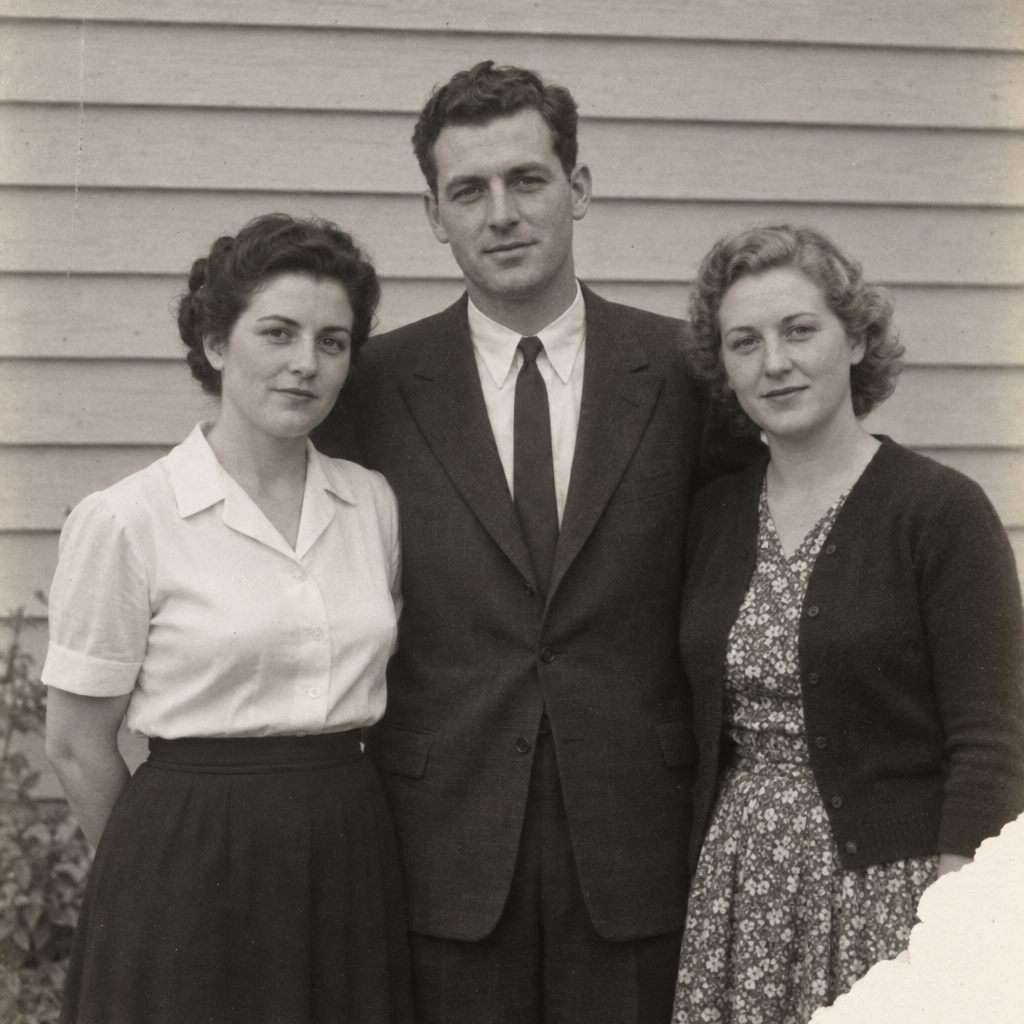
Need something custom?
Create a prompt for your exact task, context, and requirements.
The thinking behind the templates
Why this structure works.
- 01
Creation and editing stay separate
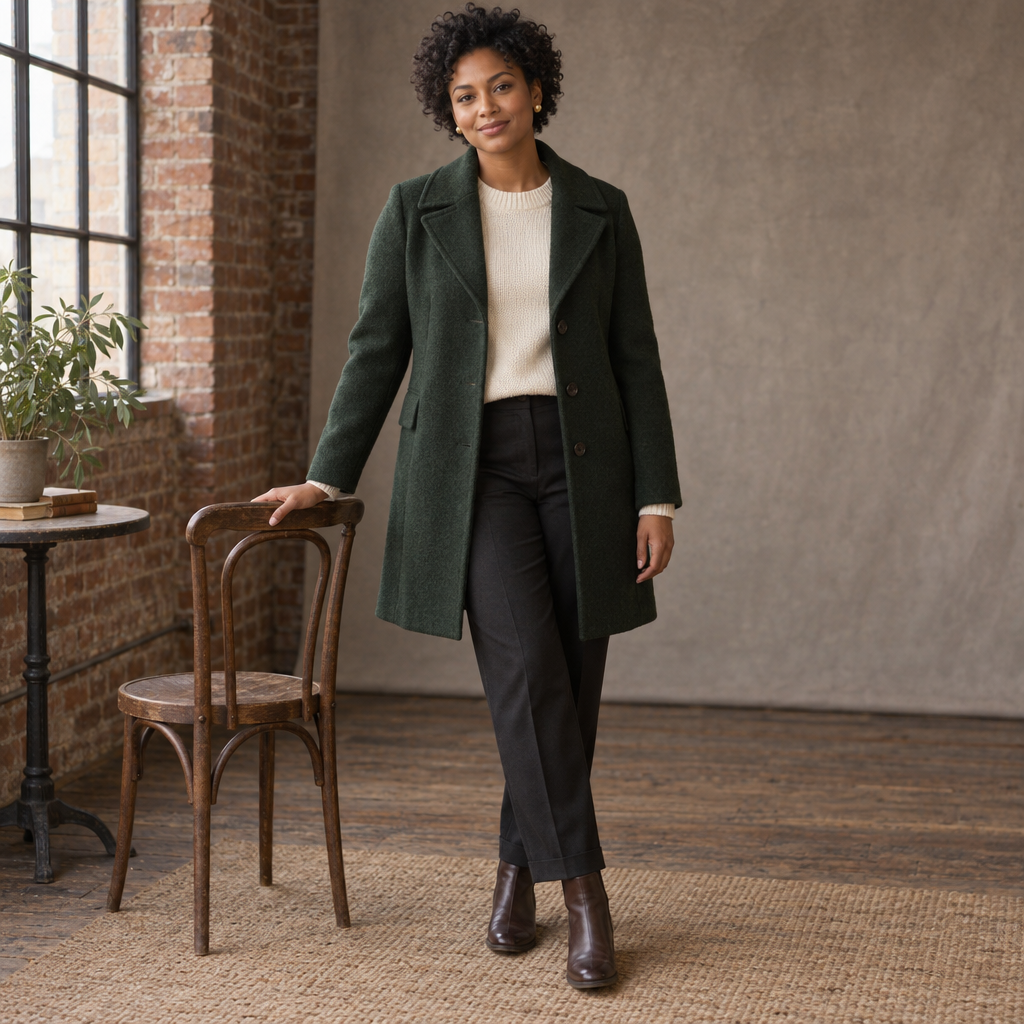
The new-image card invents a scene; the paired cards illustrate an edit idea. Their labels keep the distinction explicit: a generated target is not a completed source-photo edit.
- 02
A change has a defined scope
The cleanup card names one region and what replaces it. Portrait and monochrome cards separately state which presentation choices may change, giving you concrete details to inspect rather than a vague request to improve everything.
- 03
Every person has a place
The group pair assigns features, clothes and changes to individual positions. That creates a readable checklist for missing people or swapped attributes; it is not an identity lock.
- 04
Repair stops at uncertainty
The restoration pair separates photo-surface defects from the depicted people and leaves explicitly missing areas unresolved. The intended result is a bounded repair concept, not invented historical detail.
How to use
- 01
Choose the result first. Use the first card for a new image; choose a before/after pair to explore a specific treatment. You do not need to generate a before illustration to edit your own photo.
- 02
Fill only the variables used by your chosen card. Give concrete visual details, use viewer-left and viewer-right consistently, and choose a canvas ratio. Keep real names, addresses and other identifying text out of illustration briefs.
- 03
Copy the complete filled card into an image-generation conversation. Each card requests one image. For a pair, reuse the same starting-scene description and ratio; the after card adds the intended changes.
- 04
For an actual edit, keep an untouched copy and use a photo you have permission to upload and alter. In a separate editing session, upload that image and carry over only the intended treatment and preservation rules—not the fictional-scene instructions. Follow the guide below.
- 05
Inspect the result at the size you will use. For a real edit, compare protected details with the original. Reject an unwanted facial or subject change even if the new lighting looks attractive.
Run a quick quality check.
Ready-to-use checklist
- Every required person or object is present once, in the intended position, with no exchanged clothing, features or accessories.
- Faces, eyes, glasses, teeth and hands are readable and plausible; props and crop boundaries do not hide important details.
- The requested change is visible, while unrequested changes are identified. For actual edits, check those areas against the source photograph rather than the generated before illustration.
- Lighting, contact shadows, reflections and material texture agree with the scene; skin is not unintentionally smoothed and important highlights or shadows retain detail.
- The image has the intended color treatment and framing. Check the downloaded file's actual dimensions and appearance at the intended display or print size.
Small choices that improve the result.
Make it stronger
- Describe the replacement, not only the removal: 'continue the pale wall behind the bucket' is a clearer cleanup brief than 'remove the clutter'.
- For groups, list people by position before describing the occasion. Add wardrobe changes to those same position labels rather than writing 'make everyone festive'.
- Separate physical texture from defects. A crease across the paper is a repair candidate; a person's wrinkles, a knitted sleeve and film grain may be details you want to retain.
Common mistakes
Asking only for 'professional'
specify the backdrop, light, crop and any clothing change instead. Do not use a younger-looking face as the acceptance criterion.
Stacking conflicting styles
choose one light direction and one main treatment before adding grain, glow, deep contrast or seasonal decoration.
Using an attractive generated face as proof of likeness
compare an actual edit with your authorized source. The fictional before/after cards cannot make that check for you.
Calling every missing area recoverable
leave uncertain details unresolved, or clearly treat a reconstruction as an interpretation rather than a repaired record.
Further guidance
How to apply a look to your own photo
Start with the actual image, not the generated before illustration. ChatGPT supports editing an uploaded photo, either through a described change or a selected region. A selection is not a hard boundary: OpenAI warns that edits may extend beyond it. (help.openai.com)
Build the request around what changes and what stays. OpenAI's image guidance recommends concrete visual details and focused revisions. Use that structure to translate a target look into a smaller edit request, rather than copying an entire fictional scene into your real-photo session. (openai.com)
- Prepare: save the original, get the depicted people's permission where appropriate, and remove unnecessary identifying material before uploading. For children, use an appropriate parent or guardian's permission.
- Identify the source: make clear that the uploaded photograph supplies the people, objects and existing composition. Do not ask the model to invent a likeness from a name.
- State the change: name the region and its intended appearance. Carry over the selected card's lighting, backdrop, clothing or repair choices only where they apply to your image.
- State the protected details: identify the faces, expressions, poses, garments, objects or crop that must remain. Remove contradictions—for example, do not both replace a jacket and require that jacket to remain unchanged.
- Review before continuing: compare the edit with the original. If a protected subject has changed, revert and use a narrower selection or an adjustment-based workflow instead of repeatedly accepting new versions of the face.
Choose an adjustment, a local edit or a restyle
Choose the smallest kind of change that serves your goal. Brightness or black-and-white conversion does not require a new outfit, pose or background.
For color and tone, Adobe documents adjustment layers that leave the original image layer intact, including a Black & White adjustment and masks for limiting the affected region. This is a useful alternative when you want an existing-photo adjustment rather than a generated reinterpretation. (helpx.adobe.com)
Adobe also documents a connected Photoshop workflow inside ChatGPT with uploaded images, adjustment controls and sliders. If that connection is available in your account, select it deliberately for supported photo adjustments; it is a separate tool workflow, not something these gallery cards execute. (adobe.com)
- Adjustment: use for exposure, color balance, contrast or a literal monochrome conversion when composition must stay intact.
- Local edit: use for one object or small region. Specify the replacement surface and inspect the boundary around the unchanged subject.
- Restyle: use for a new holiday set, wardrobe or occasion. Agree on the allowed changes before generating, then inspect every protected person and object.
- Stop rule: if exact likeness or document fidelity is a requirement and the result changes it, keep the original and switch methods. A more emphatic prompt is not an acceptance check.
Family, couple and Christmas scene recipes
Use these original directions in the group-treatment or Christmas-styling field after describing who appears. They are creative starting points, not a list of verified current trends. For a real event or recognizable people, apply the idea only in a separate, permitted source-photo workflow.
- Everyday family portrait: a shaded garden bench, coordinated earth-tone clothing chosen separately for each person, relaxed expressions and enough room around the group for everyone's hands and shoulders.
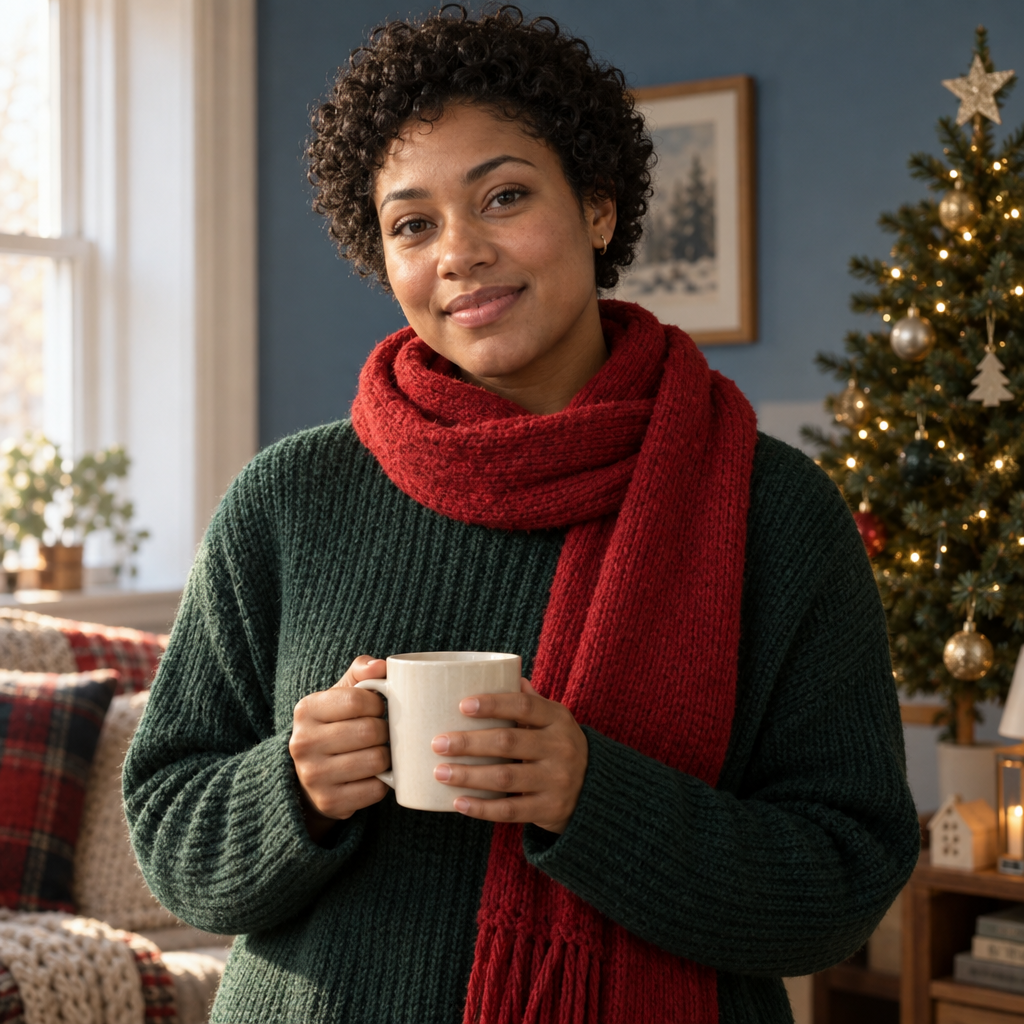
- Family Christmas photo: a quiet living room with an evergreen tree at one side, small warm lights behind the group and plain wrapped gifts away from feet. Keep faces neutrally lit and leave the roster unchanged.
- Realistic couple portrait: exactly two adults near an open doorway, soft side light, an easy shoulder-to-shoulder pose and separate, unobscured faces. Name each person's clothing rather than assuming matching gender roles.
- Wedding-style concept: two adults in specifically described ceremony clothes in a simple botanical courtyard. Keep jewelry choices explicit, leave signage blank and add no unrequested guests. Treat a newly invented setting as a concept, not proof of a ceremony.
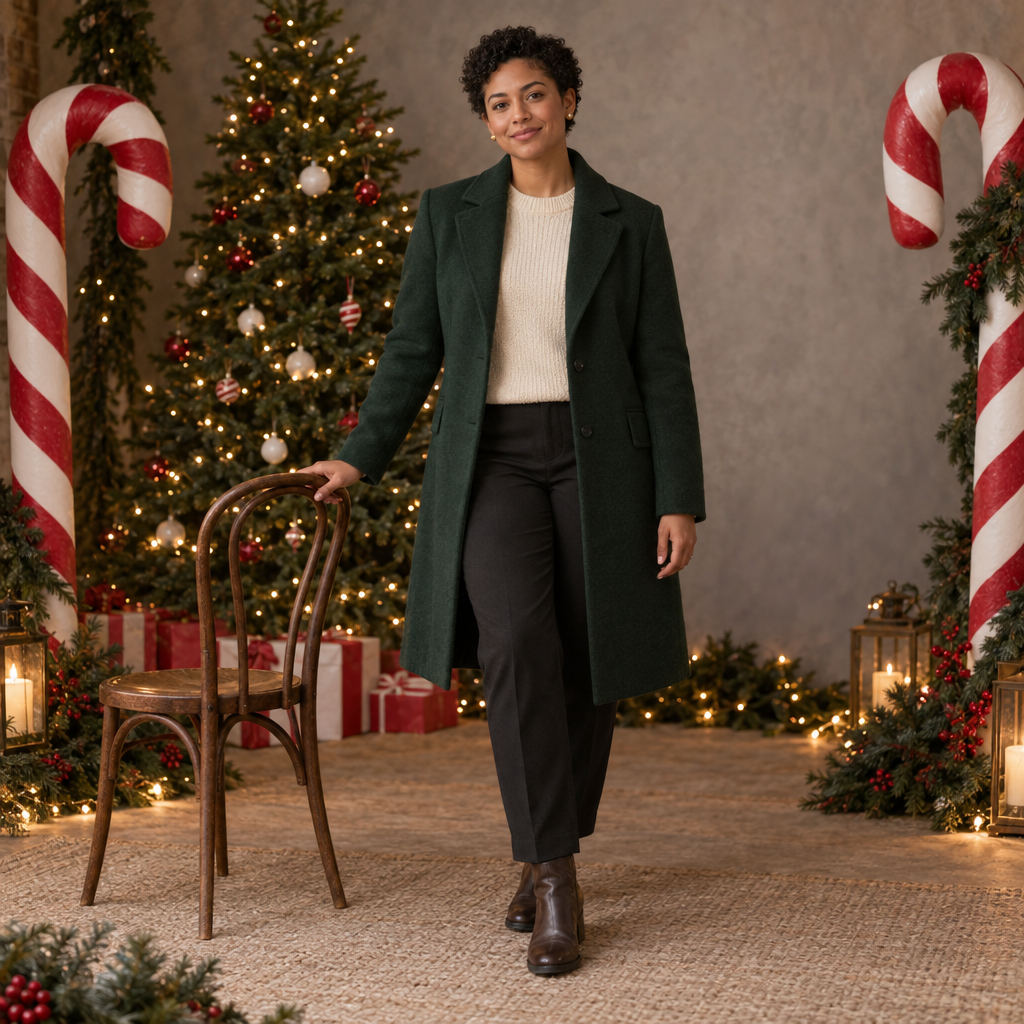
- Candy-cane Christmas portrait: ivory knitwear or your chosen outfit, restrained red-and-white peppermint props at the sides and a deep-green tree behind. Leave the face and hands clear instead of filling every gap with ornaments.
Old-photo repair: decide what must remain unknown
Make two lists before requesting a repair: defects on the photograph and details belonging to the subject. The restoration pair asks for that separation explicitly, so a smoother-looking image is not automatically the goal.
Use a conservative boundary for a meaningful family photograph: do not request a confident replacement for an eye, badge, garment detail or background object you cannot verify. These cards keep missing patches unresolved and retain the original color mode.
- Scratch over a plain wall: describe its location and the surrounding tone that should continue through it.
- Damage covering a face: leave the uncertain part unresolved rather than asking for a plausible new feature.
- Wrinkles, scars, fabric weave and film grain: list them as protected texture when they belong to the photograph's subject or appearance.
- Colorization: make it a separate creative decision. Without documented colors, label a colored version as an interpretation; this restoration pair does not colorize.
- Completion check: retain the untouched original and inspect the repair for new details, not just fewer scratches.
What it's for
Match the prompt to the job.
What this helps you do
- A new photographic-style image shaped around your scene, framing and light.
- A visual target for a portrait, group, Christmas set, local cleanup, monochrome treatment or conservative repair.
- A clearer decision about which changes belong in a real photo edit and what to check against the original.
Who it's for
Find the right fit for your task.
Start with Create a new photo-style image when you want an invented scene. For a photo you already have, choose the pair that matches your goal, then use the source-photo editing steps below.
Each before and after card generates a separate fictional image from text. The pair illustrates a starting look and a target look—not an edit of your photo, a matched identity or a verified restoration.
First-time image creators
You have a scene in mind and want a clear starting prompt with visible details you can inspect.
People updating a profile
You want better presentation without treating an invented face as an acceptable replacement for your own.
Couples and families
You want a seasonal or occasion-based composition with explicit people, positions and clothing choices.
Family-album keepers
You want to plan restrained repairs while protecting the original and leaving uncertain details unresolved.
FAQ
Do I need a camera model, lens setting or '8K' in my photo prompt?
No. Start with the subject, crop, light direction and texture you want to see. OpenAI describes camera specifications as appearance cues, not a guarantee of physical simulation. Use them when they clarify a look; do not treat a resolution word as verification of the downloaded file's dimensions. (developers.openai.com)
- Image prompting | OpenAI API — OpenAI